Fence project planning: Property lines, permits, materials, and long-term care

Key Takeaways
- Define the fence’s purpose before selecting a style or material.
- Verify property lines, easements, permits, and neighborhood requirements before work starts.
- Choose posts, panels, gates, and hardware that suit the site and expected level of use.
- Plan access, drainage, slopes, and gate openings as carefully as the fence line itself.
- Compare detailed written estimates, then maintain the completed fence on a regular schedule.
A successful fence project begins long before the first post hole is dug. Whether the goal is privacy at home, pet containment, property definition, or stronger perimeter control for a business, the right planning process prevents expensive corrections later. Owners considering commercial fences should be especially careful about access needs, traffic patterns, material strength, and security hardware.
The best fence is not always the tallest, most expensive, or most decorative option. It is the one that fits the property, complies with applicable rules, performs its daily job, and remains manageable to maintain. Starting with the site and its intended use makes every later decision easier.
Why Fence Planning Starts Before Material Selection
It is tempting to begin by choosing between wood, vinyl, aluminum, steel, or chain link. However, material selection should be guided by a clear definition of the fence’s purpose. A privacy fence may need solid panels and carefully placed gates. A security fence may need heavier posts, durable hardware, and clear visibility around entrances. A farm fence may need suitable wire, strong rails, and wide openings for equipment.
For example, a homeowner may initially picture a standard walk gate, then realize a mower, trailer, or future landscaping equipment needs to pass through the fence. Identifying that need before installation allows room for a double gate or wider driveway gate rather than an expensive retrofit later.
Step One: Check Property Lines And Site Restrictions
An existing fence, hedge, sidewalk, curb, or driveway edge does not necessarily show the legal property boundary. Before setting a layout, review the current survey, plat, or deed information. If the line is uncertain or a dispute is possible, a licensed surveyor is the appropriate professional to accurately identify the boundary.
It also helps to understand the difference between a property line and an easement. A property line marks the edge of ownership, while an easement may give another party the right to use part of the land for utilities, drainage, access, or another stated purpose. A fence placed in an easement can create future access problems even if it is technically on the owner’s land. The City of Turlock offers useful property line guidance explaining why old fences and visible landscape features are not reliable evidence of a boundary.
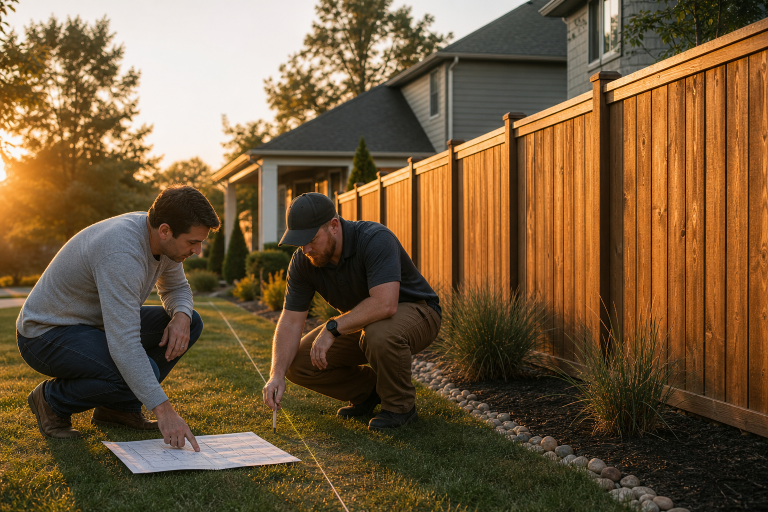
When a fence runs along a shared edge, speak with the neighboring owner before work begins. Early communication can help clarify access, appearance, removal of an old fence, and how the work may affect landscaping on either side.
Step Two: Review Permits, Codes, And HOA Rules
Local rules can regulate fence height, location, setbacks, openness, materials, corner-lot visibility, and pool barriers. Requirements may differ between nearby cities and counties, so never assume a rule from one neighborhood applies to another. Homeowners association rules can also require approval for color, style, height, or placement, even if a municipal permit is not required.
Check requirements before ordering panels, posts, or gates. Keep copies of written approvals, product information, site sketches, and color selections with the project records. For an example of how municipal rules may address fence height, placement, and corner-lot considerations, review information about fence regulations from authoritative sources on local building codes.
Step Three: Define The Fence’s Main Job
- Privacy: Consider solid panels, an appropriate permitted height, limited gaps, and gate placement that avoids unwanted views.
- Security: Focus on substantial posts, dependable latches, controlled access points, and sightlines near doors, driveways, and loading areas.
- Pet control: Choose safe spacing, secure gates, dig-resistant details where needed, and latches that cannot be easily pushed open.
- Property definition: Use a consistent line and style that complements the home or landscape without obstructing necessary visibility.
- Farm or livestock use: Match wire, rails, spacing, and gate widths to the animals, vehicles, and equipment using the area.
Step Four: Match Materials To The Site
Look Beyond Appearance
Wood offers a traditional appearance and can be stained or painted, but it needs periodic sealing or finishing. Vinyl is low maintenance and offers privacy options, though it should be selected in a grade suited to the climate and impact risk. Aluminum provides a clean, low-maintenance ornamental look, while steel can provide added strength for demanding security applications. Chain link is durable, practical, and well-suited to many residential, commercial, and athletic uses.
Material grade matters as much as material type. Wet soil, slopes, wind exposure, salt air, tree roots, vehicle traffic, and frequent gate use can all call for stronger posts, deeper footings, reinforced frames, or specialized hardware. The lowest initial price may not be the lowest lifetime cost if repairs and early replacement become necessary.
Step Five: Plan Gates And Daily Access
Gates are working components, not decorative afterthoughts. Walk gates, double gates, driveway gates, service gates, and cantilever gates all serve different needs. Measure the widest vehicle, mower, trailer, or equipment that must pass through each opening, then allow adequate clearance for turning and safe operation.
Also consider swing direction, slope, drainage, latch height, gate weight, and room for an operator if automation may be added later. A gate that fits on a drawing can bind, sag, or become difficult to use if the ground shifts or the opening is too narrow. Where there is not enough room for a driveway gate to operate comfortably, retractable driveway bollards offer another way to control vehicle access.
Prepare For Installation And Understand The Process
- Clear furniture, toys, brushes, and stored materials from the work area.
- Identify irrigation lines, drainage features, septic systems, tree roots, and buried debris.
- Arrange utility marking before digging begins.
- Confirm where crews can enter and where materials can be staged.
- Review the layout, corners, gates, setbacks, and site conditions before posts are set.
A typical installation includes layout, digging, post setting, framing, panel or fabric attachment, gate installation, and a final review. At closeout, check alignment, latch operation, gate swing, cleanup, and any areas where drainage could collect around posts.
Questions To Ask Before Accepting An Estimate
- Is pricing based on measured footage and a clearly defined scope of work?
- Does the estimate include old-fence removal, disposal, delivery, cleanup, gates, hardware, and footings?
- What post sizes, material grades, finishes, and hardware are included?
- Who handles permits, utility marking, inspections, and changes caused by site conditions?
- What schedule is expected, and what weather or access issues could affect it?
- What artistry coverage and manufacturer warranties apply?
Long-Term Fence Care And A 2026 Checklist
Inspect posts, rails, panels, hinges, latches, and fasteners at least once each year. Wash vinyl and aluminum with mild soap and water as needed. Seal or stain wood according to its finish and exposure. Keep vines away from mesh fencing, maintain open drainage paths, and inspect gates after heavy rain, storms, freeze-thaw cycles, or noticeable soil movement.
Before moving forward, confirm the purpose, perimeter, gates, boundaries, approvals, utilities, materials, installation sequence, and maintenance plan. Planning in this order reduces disputes, delays, rework, and avoidable repairs while helping the finished fence perform well for years.